Rustic French Bread

About the recipe
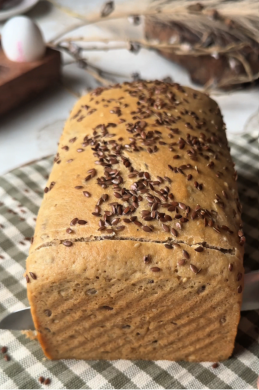
This Rustic French Bread has a beautifully crisp golden crust, a soft and airy crumb, and incredible homemade flavour. Made with just a handful of pantry staples, this easy bread recipe is perfect for beginners and requires minimal effort. Whether you enjoy it with butter, soups, sandwiches, or olive oil, this bakery-style loaf is sure to become a staple in your kitchen.



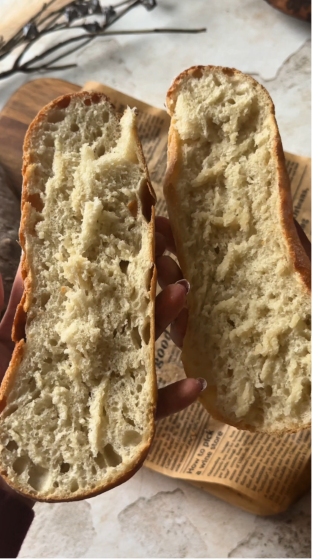
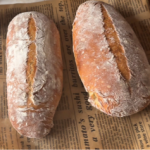
Rustic French Bread
Ingredients
- 375 g Bread flour
- 260 g Warm water
- 8 g Salt
- 2 g Active dry yeast
- 5 g Sugar (1 tsp)
Instructions
- Combine the warm water, active dry yeast, and sugar in a large bowl. Stir gently and let the mixture sit for 5–10 minutes until it becomes foamy, indicating the yeast is active.
- Add the bread flour and salt to the yeast mixture. Stir until all the flour is hydrated and a rough, shaggy dough forms with no dry patches remaining.
- Knead the dough using a stand mixer with a dough hook for 6–8 minutes or by hand for 8–10 minutes until it becomes smooth, elastic, and slightly tacky.
- Cover the bowl with a clean towel or plastic wrap and let the dough rest for 30 minutes. This allows the flour to fully absorb the water and makes the dough easier to handle.
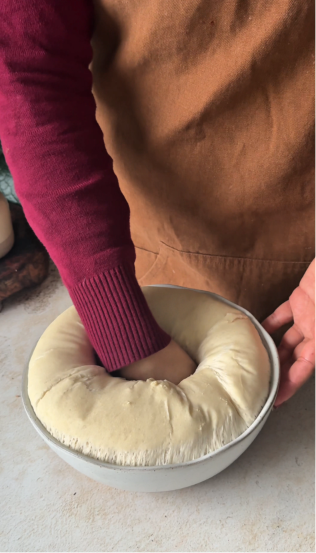
- Perform one gentle stretch and fold by lifting one side of the dough and folding it over itself. Rotate the bowl and repeat on all sides to build strength and improve the bread’s structure.
- Cover the dough again and leave it in a warm place for 1½–2 hours, or until it has doubled in size.
- Transfer the dough onto a lightly floured surface and divide it into two equal portions. Shape each piece into a rustic oval or baguette-style loaf, taking care not to press out too much of the trapped air.
- Place the shaped loaves on a parchment-lined tray or proofing cloth and let them rise for 30–45 minutes until slightly puffy.
- Using a sharp bread lame or knife, make one long slash down the centre of each loaf. This helps the bread expand evenly while baking.
- Preheat the oven to 240°C (465–475°F). Just before placing the bread inside, carefully pour 15 ml of water into the hot oven to create steam. Immediately place the loaves inside and bake for 22–26 minutes, or until they are deep golden brown and sound hollow when tapped on the bottom. Cool completely on a wire rack before slicing.
Video
Tips & Tricks
Use Bread Flour: Bread flour produces a stronger gluten structure, giving the bread a chewier texture and better oven spring.
Create Steam: Adding a small amount of water to the hot oven creates steam, which helps develop a beautifully crisp, shiny crust.
Avoid Adding Too Much Flour: The dough should feel slightly tacky. Adding too much flour can make the bread dense instead of light and airy.
Cool Before Slicing: Allow the bread to cool completely before cutting to preserve its soft crumb and prevent a gummy texture.
FAQs
How do I store Rustic French Bread?
Store the bread in a paper bag, bread box, or loosely wrapped in a clean kitchen towel at room temperature for up to 3 days. Avoid storing it in the refrigerator, as this can dry it out. To refresh the crust, warm the loaf in a 180°C oven for 5–8 minutes.
Can I freeze Rustic French Bread?
Yes. Allow the bread to cool completely, then wrap it tightly and freeze for up to 2 months. Thaw at room temperature and warm in the oven before serving.
How do I know when the bread is fully baked?
The bread is ready when it has a deep golden-brown crust, sounds hollow when tapped on the bottom, and reaches an internal temperature of 96–98°C (205–208°F) if checked with an instant-read thermometer.
Can I prepare the dough ahead of time?
Yes. After kneading, you can refrigerate the dough overnight or for up to 24 hours. The slow fermentation develops a deeper flavour and makes the bread even more delicious. Let the dough come closer to room temperature before shaping and baking.
Why is my Rustic French bread dense instead of airy?
Dense bread is usually caused by under-kneading, insufficient proofing, or adding too much flour. Keep the dough slightly tacky, knead until smooth and elastic, and allow enough time for both proofing stages.